-
-
2 types of scanner equipment
- Turning on the scanners
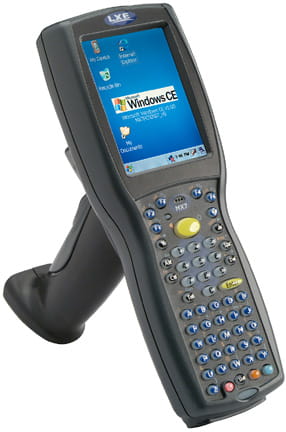
- Handheld
- Power on: Press the On/Off Button for 3 Seconds. See figure 2 for basic
- Wake from Suspend State: Press any button or the trigger in the back.
- Lift scanner
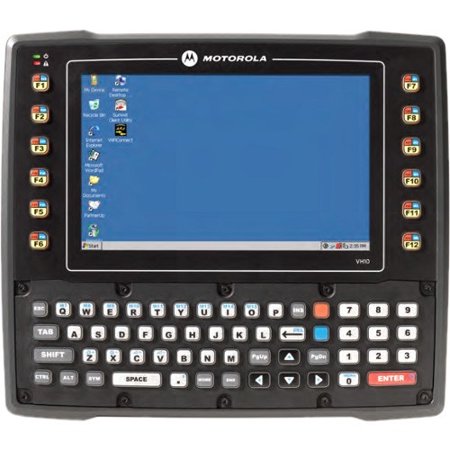
- Power on:
- Pressing the Power button on the top left of the VH10 connects the unit to external power and boots the
computer. Pressing the Power button again disconnects the unit from external power, and therefore draws no
power from the vehicle.
- Wake from Suspend State:
- When the VH10 is connected to external power and in Suspend state (Display Screen off, Power status LED
colour is solid amber), holding down the [ENTER] key on the keyboard wakes the computer. Pressing the
[BLUE] key then the [ENTER] key puts the unit into Suspend, which still allows it to draw power from
the vehicle.
NOTE: When pressing the [ENTER] key to wake the unit from Suspend, the screen in which you
were working before the computer entered suspend state is displayed.
- Starting the TelnetCE program
- On the touch screen, Double-tap TelnetCE icon from the desktop
- Press Enter if prompted to connect
- Logging into the RF Client
- Log in with User ID and Password
- Exiting the RF Client
- Always end shift before closing RF Client
- Main Menu > 8 Exit > SHIFTEND
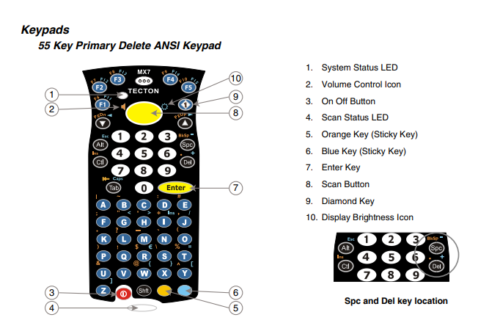
- Handheld – Press Alt button, then Red button, then F5 button, then tap Exit
- Lift Scanner – ALT + F10, then tap exit
- RF Client Interface
- WMS Main Menu
- The RF main menu contains the following functions:

- Movement – Select this option to move inventory such as putting inventory away that was received from the warehouse dock to a pick location or storage area. Movement is also used for getting tasks to move inventory, such as for replenishing pick locations.
- Count – Select this option to cycle count locations. To use this option a count session must be created.
- View/Locate – Select this option to view a location, product lookup for an item, find empty locations, find where a pallet LPN is in WMS and view or add a dedicated pick location for an item. View/Locate is also used for adjusting inventory.
- Receive – Select this option to receive inventory against an inbound order.
- Pick – Select this option to select inventory for an outbound order.
- Load Count Audit – Select this option to perform an audit for inventory picked for an outbound order prior to loading the inventory onto the truck\trailer.
- Loading – Select this option to load inventory onto a truck\trailer for an outbound order.
- Exit – Select this option to logout of WMS.
- Navigation
- Up and down arrow key
- Using the numpad to select menus
- Hotkeys to execute commands (capital letter on word)
- Handheld scanner hotkeys
- ESC = Press Blue button, then ALT button
- Backspace = Press Red button, then Spc button
- – or hyphen = Press Blue button, then Spc button
Simulator << Back Home Next >> Inbound Interface